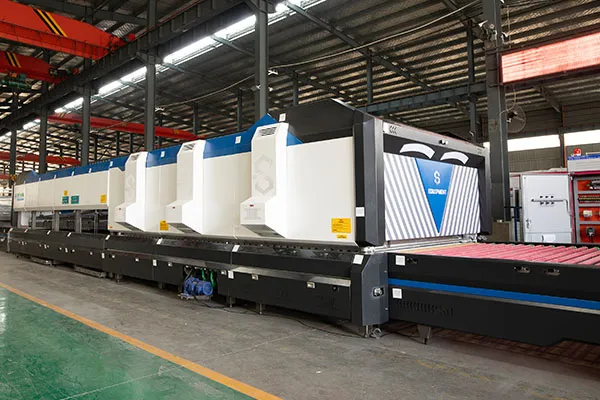
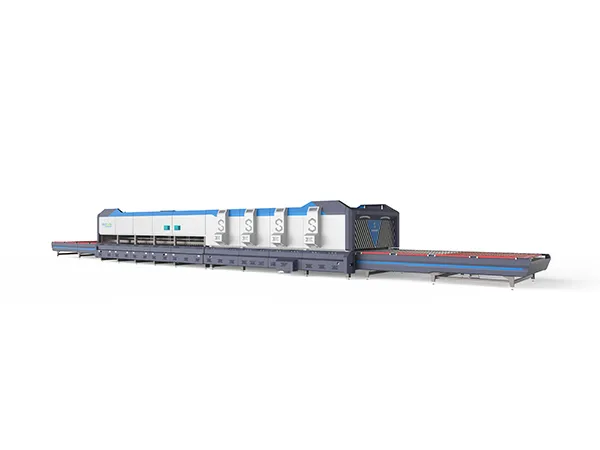
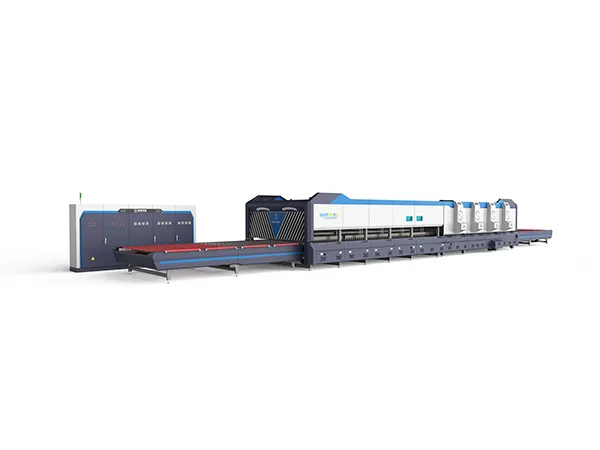
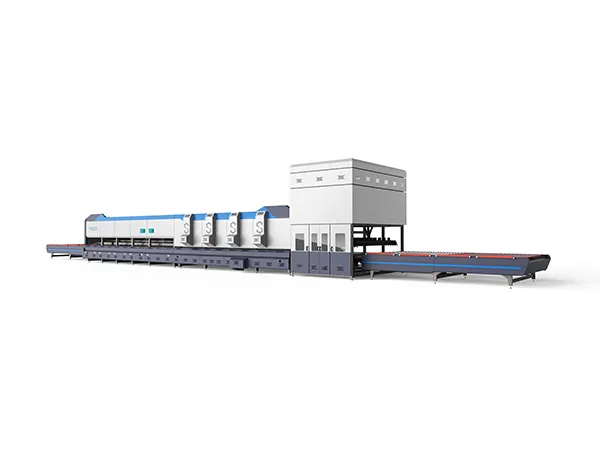
Tempered glass is a type of safety glass that has been tempered in a glass tempering furnace to increase its strength and impact resistance. This process involves heating the glass to a high temperature (usually around 600-700°C) and then rapidly cooling it through a quenching process. However, in some cases, tempered glass may crack or even break unexpectedly after quenching. If tempered glass breaks after quenching, especially if it happens repeatedly, it indicates a problem with your tempering process.
Causes and solutions for cracking of tempered glass after quenching
1. Temperature Problems:
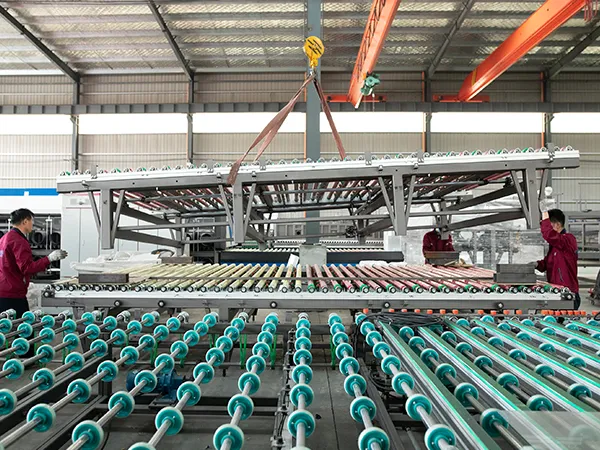
Too High Quenching Temperature: If the glass is too hot before quenching, the rapid cooling can create excessive stress that exceeds the glass's ability to withstand it, leading to breakage. The ideal temperature is slightly below the softening point of the glass.
Uneven Heating: If the glass isn't heated uniformly, some areas will be hotter than others. The cooler areas might not develop sufficient stress during quenching, while the hotter areas are overstressed. This differential stress can cause fracture.
Incorrect Temperature Measurement: Faulty thermocouples or improper calibration of the temperature monitoring system can lead to inaccurate temperature readings, resulting in incorrect quenching temperatures.
2. Quenching Issues:
Quenching Rate Too Rapid: If the cooling is too fast, the surface cools and contracts much faster than the inner layers, creating extreme stress. Adjust the air pressure, nozzle configuration, or quenching time to achieve a more controlled cooling rate.
Uneven Quenching: Similar to uneven heating, uneven cooling leads to differential stress. This could be caused by:
Clogged Air Nozzles: Obstructed nozzles in the quenching system result in inconsistent airflow across the glass surface.
Uneven Air Pressure: Fluctuations in air pressure during the quenching cycle can cause variations in cooling rates.
Poor Nozzle Design: Inadequate nozzle design can lead to uneven air distribution.
Improper Glass Placement: The glass needs to be positioned correctly within the quenching zone to ensure uniform airflow around its surfaces.
3. Glass Quality and Preparation:
Surface Defects: Scratches, chips, or other surface imperfections act as stress concentrators. Even minor flaws can become points of fracture during the tempering process. Thoroughly inspect the glass before tempering and discard any pieces with noticeable defects.
Edge Damage: Damaged edges are particularly vulnerable. Ensure the edges are smooth and free of chips or cracks. Edge grinding or seaming can help minimize stress concentration.
Glass Composition: Variations in the chemical composition of the glass can affect its temperability. Ensure you are using glass that is specifically designed for tempering. Certain glass types may be more prone to breakage.
Glass Thickness: Different thicknesses require different tempering parameters. If the glass is too thick for the given tempering process, it might not be able to withstand the stress.
Contamination: Dirt, oil, or other contaminants on the glass surface can interfere with the quenching process and lead to uneven cooling. Clean the glass thoroughly before tempering.
4. Furnace and Equipment Issues:
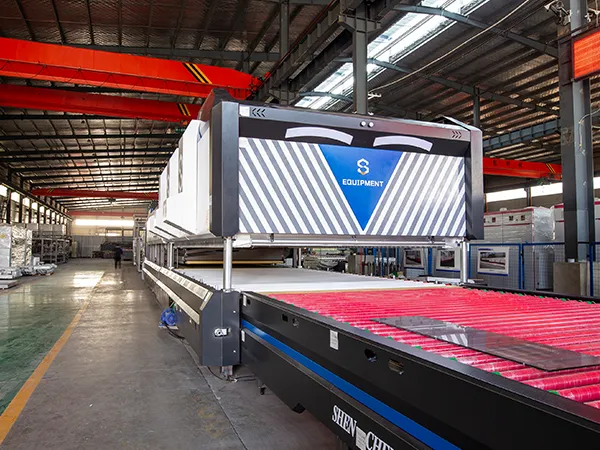
Furnace Calibration: The furnace itself might be improperly calibrated, leading to inconsistent heating and temperature control issues.
Airflow Problems within the Furnace: Uneven airflow within the furnace can result in inconsistent heating of the glass.
Roller Issues (Horizontal Furnaces): If the furnace uses rollers to transport the glass, worn or damaged rollers can create surface defects and uneven heating.
Troubleshooting Steps:
Inspect the Break Pattern: Analyze the fracture pattern. This can give clues about the cause:
Complete Fragmentation (dicing): This generally indicates proper tempering, but might suggest over-tempering if accompanied by significant distortion.
Large Cracks with Minimal Fragmentation: Indicates insufficient tempering or uneven stress distribution.
Origin of the Crack: Pinpointing the origin of the crack can help identify areas of stress concentration (e.g., edges, surface defects).
Verify Temperature Measurement:
Calibrate your thermocouples regularly.
Use multiple thermocouples to monitor temperature distribution within the furnace.
Consider using a non-contact infrared thermometer to verify surface temperatures.
Inspect Quenching System:
Clean all air nozzles and ensure they are free of obstructions.
Check the air pressure to ensure it's consistent and within the recommended range.
Examine the nozzle configuration to ensure proper air distribution.
Check Glass Quality:
Thoroughly inspect each piece of glass for surface defects, edge damage, and contamination.
Ensure you're using the correct type of glass for tempering.
Confirm that the glass thickness is within the recommended range for your tempering process.
Review Tempering Parameters:
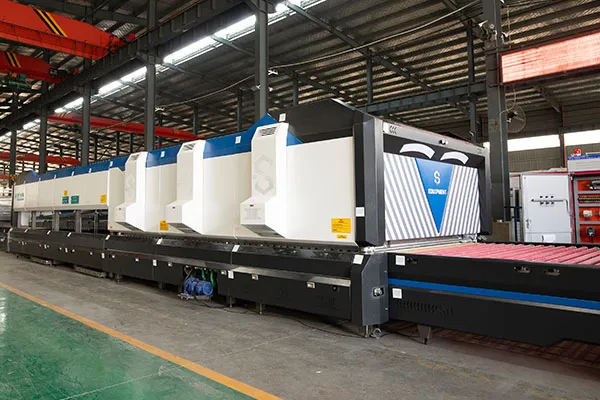
Consult with your tempering equipment manufacturer or a tempering expert to ensure your parameters (heating temperature, quenching rate, quenching time) are appropriate for the glass type and thickness.
Make small, incremental adjustments to your parameters based on your observations.
Test with a Control Sample:
Run a test batch with a known good piece of glass to isolate the problem. If the control sample breaks, the issue is likely with the equipment or process. If the control sample passes, the issue is likely with the glass itself.
Consult with Experts: If you've tried these steps and are still experiencing problems, consider consulting with a tempering equipment manufacturer, a glass supplier, or a tempering expert.
By systematically investigating these potential causes, you can identify the root of the problem and take corrective action to prevent further breakage. Remember that tempering is a complex process, and small changes can have a significant impact on the final product.


