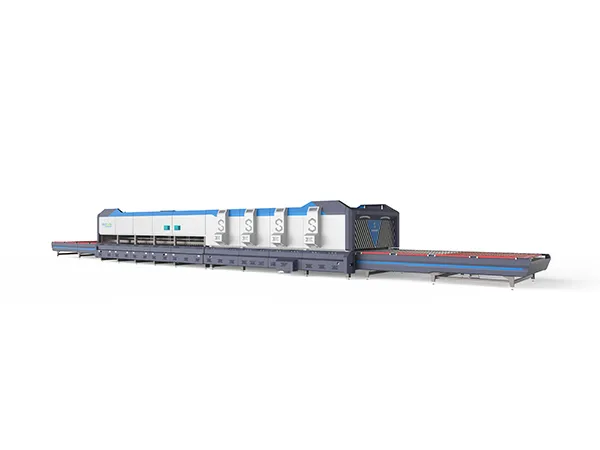
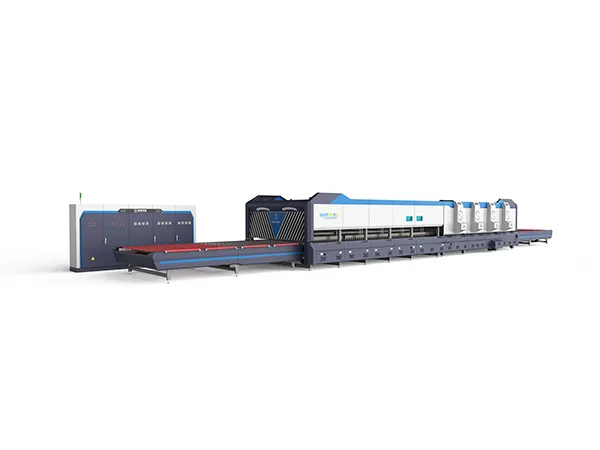
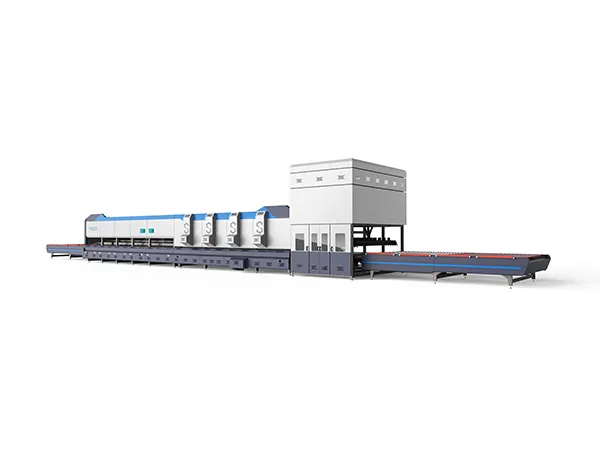
Flat and bent glass tempering furnace is the core equipment for producing building curved curtain walls and automotive curved glass. Its installation accuracy directly affects the yield rate and equipment life. This article provides the installation process of flat and curved glass tempering furnace, covering the entire process of foundation construction, mechanical positioning, and electrical debugging, helping you avoid 90% of installation risks.
Installation process of flat and bent glass tempering furnace:
1. Preparation before installation:
Site foundation construction: concrete bearing grade must be ≥5 tons/m² (including equipment weight + glass load), thickness: ≥400mm. 1.5m maintenance space is reserved at the top of the furnace body, and the ambient temperature must be controlled at 15-35℃ (to avoid thermal expansion and contraction causing structural deformation).
2. Mechanical installation steps:
Furnace body and wind grille positioning: use a 20-ton crane, and the hanging point must be at the location of the equipment reinforcement ribs. Pay attention to the application of high-temperature resistant sealant at the flange interface when splicing the segmented furnace body. Use a laser level to monitor the entire process during positioning, the longitudinal level is ≤0.5mm/m, and after the roller is installed, use a feeler gauge to check the parallelism between the rollers.
Installation of ceramic roller system: clean the bearing seat first, apply molybdenum disulfide high-temperature grease, and then install the ceramic rollers one by one. The bearing clearance at both ends is controlled at 0.05-0.1mm, and the centering deviation of the drive motor coupling is ≤0.05mm. After the installation is completed, the transmission test is carried out. Under no-load operation for 2 hours, the radial runout of the roller is ≤0.15mm.
Cooling wind grid debugging: the angle between the wind nozzle and the glass surface is 35°-50°, and the angle gauge is used for precise positioning, and the wind pressure is balanced to ensure that the upper and lower wind pressure difference is ≤5%.
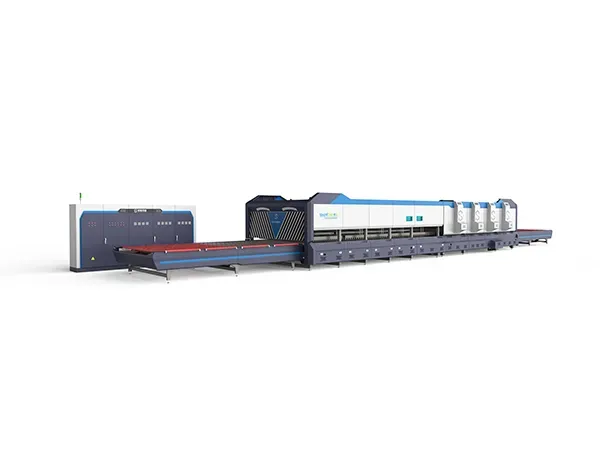
3. Electrical and program debugging:
Power supply system configuration: the power supply must meet the three-phase 380V±5%, and the independent grounding resistance is ≤4Ω, and the cable cross-sectional area is ≥120mm².
PLC program debugging: heating curve setting: match the heating rate (5-20℃/min) according to the glass thickness (3-19mm), air cooling parameters: wind pressure is inversely proportional to the square of the glass thickness.
4. Acceptance test:
Air tightness test: close the furnace door, start the exhaust fan to make the pressure leakage rate ≤5Pa/min when the negative pressure in the furnace reaches -50Pa
Temperature uniformity test: the furnace is divided into three zones: front, middle and back. Three thermometers are arranged in each zone. The temperature difference is ≤±3℃ during the insulation stage.
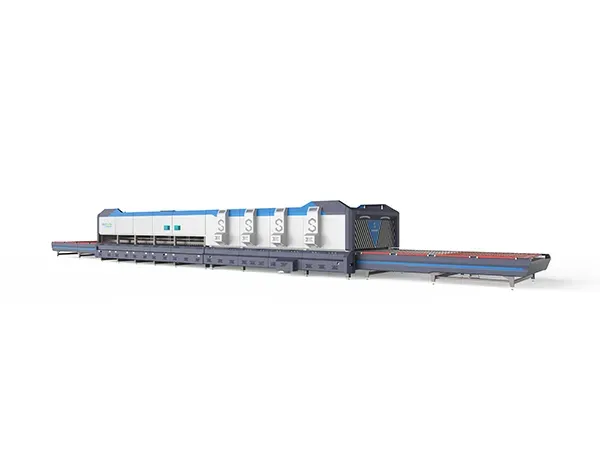
The installation of the flat and bent glass tempering furnace must follow the three principles of "precise foundation, mechanical alignment, and electrical reliability". It is recommended to keep the laser measurement data and debugging records of the entire installation process to provide a benchmark reference for subsequent maintenance. Stress spot and particle size detection are carried out every week in the first month of production, and parameters are fine-tuned in time to quickly reach production and achieve a finished product rate of ≥95%!


